An interior design photoshoot is a great way to show off your work and make your portfolio shine. But what if you could make your photos even better?
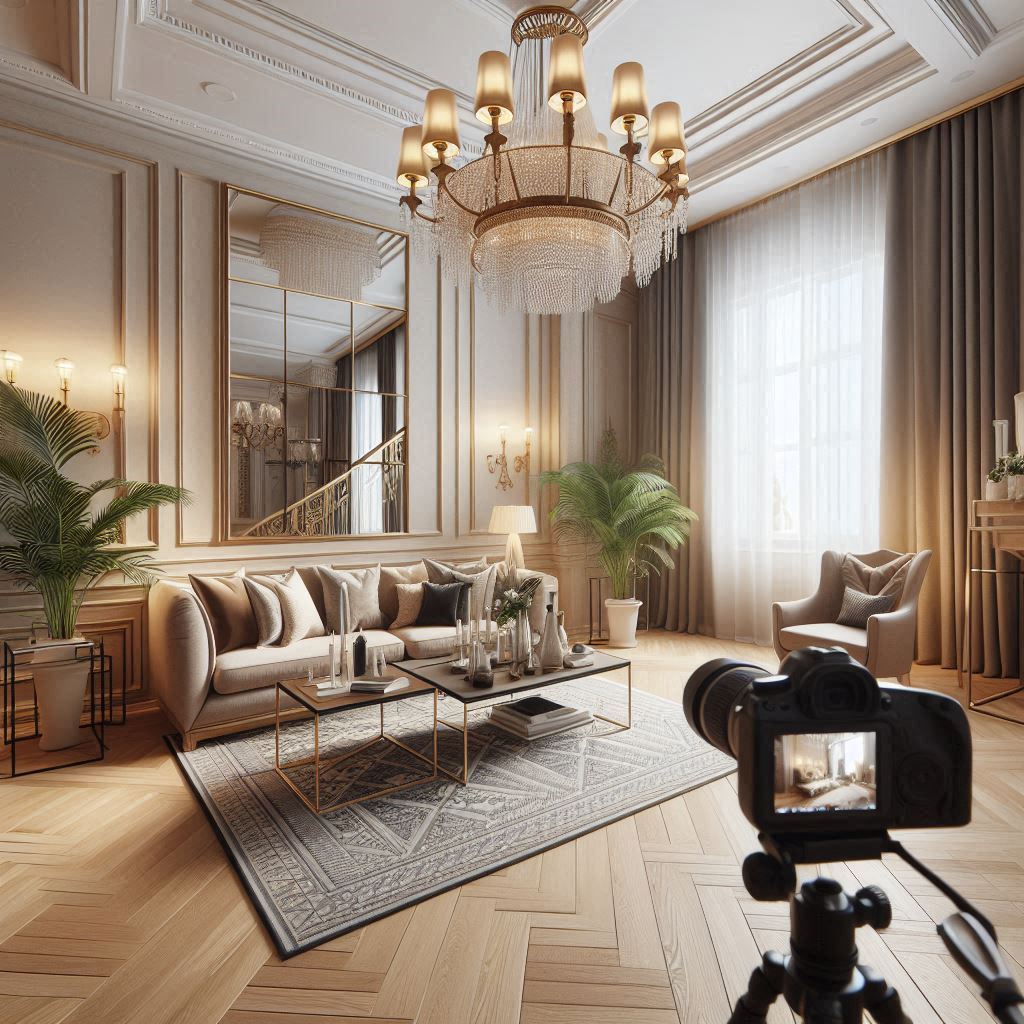
Have you ever wondered how the right tips could boost your portfolio and help you stand out? With just a few simple changes, your photos can go from good to amazing.
Why do some interior design photoshoots grab attention, while others are easily overlooked? What makes the difference between a photo that wows and one that just looks okay?
The good news is that with the right tips, you can create photos that impress every time. These easy tricks can help you highlight the best parts of your designs, making your portfolio stronger and more appealing.
So, are you ready to learn how to make your photos work harder for you? Keep reading to discover 7 tips that will take your interior design photoshoot to the next level.
How Can an Interior Design Photoshoot Improve Your Portfolio?
An interior design photoshoot is one of the best ways to show your work to potential clients.
Great photos can make your designs look even better, and they help clients imagine how your work will look in their spaces. In fact, the right photos can highlight details that might be overlooked in person, like textures or colors.
By focusing on key elements like lighting and angles, you can make a huge difference in how your designs appear. For example, natural light can bring out the warmth in a room, while unique angles can make a space look bigger or more inviting. These small touches can truly make your portfolio stronger and more appealing.
Additionally, a well-planned photoshoot helps you stand out from the competition. The better your photos, the more likely clients will remember you.
So, make sure your next interior design photoshoot shows your work in the best possible light.
Want to make your interior design photoshoot even more powerful?
Great photos can take your portfolio to the next level, but how do you make sure every shot is a winner? With the right tips, you can show off your work in the best possible way and impress every client.
Have you ever wondered how some designers manage to capture their spaces so beautifully? Well, it’s not just about taking pictures—it’s about using the right techniques that bring out the beauty of every room.
Imagine being able to highlight your designs’ unique details, making them stand out and grab attention. What if you could take photos that help you land more clients, simply by showing off your best work?
So, if you’re ready to learn how small changes can make a big difference, keep reading. These 7 tips will help you get the most out of your interior design photoshoot and boost your portfolio.
How Can These 7 Interior Design Photoshoot Tips Enhance Your Portfolio?
These 7 interior design photoshoot tips are perfect for showcasing your work and boosting your portfolio. They’ll help you capture the best aspects of your designs and make your photos stand out to potential clients.
1. Plan Your Shoot in Advance
First, planning is crucial for a successful interior design photoshoot. Before you start, think about which areas of the space you want to highlight.
For example, do you want to focus on a cozy living room, a stylish kitchen, or a beautiful bedroom? Walk through the space and identify the design features that are the most important.
Once you have a clear vision of the shots you want to take, it’s easier to make sure you capture everything you need. Moreover, planning ahead will save you time and help you avoid missing any crucial details during the shoot.
A well-thought-out plan ensures that your photoshoot will go smoothly and that you don’t overlook any special design elements.
2. Use Natural Light
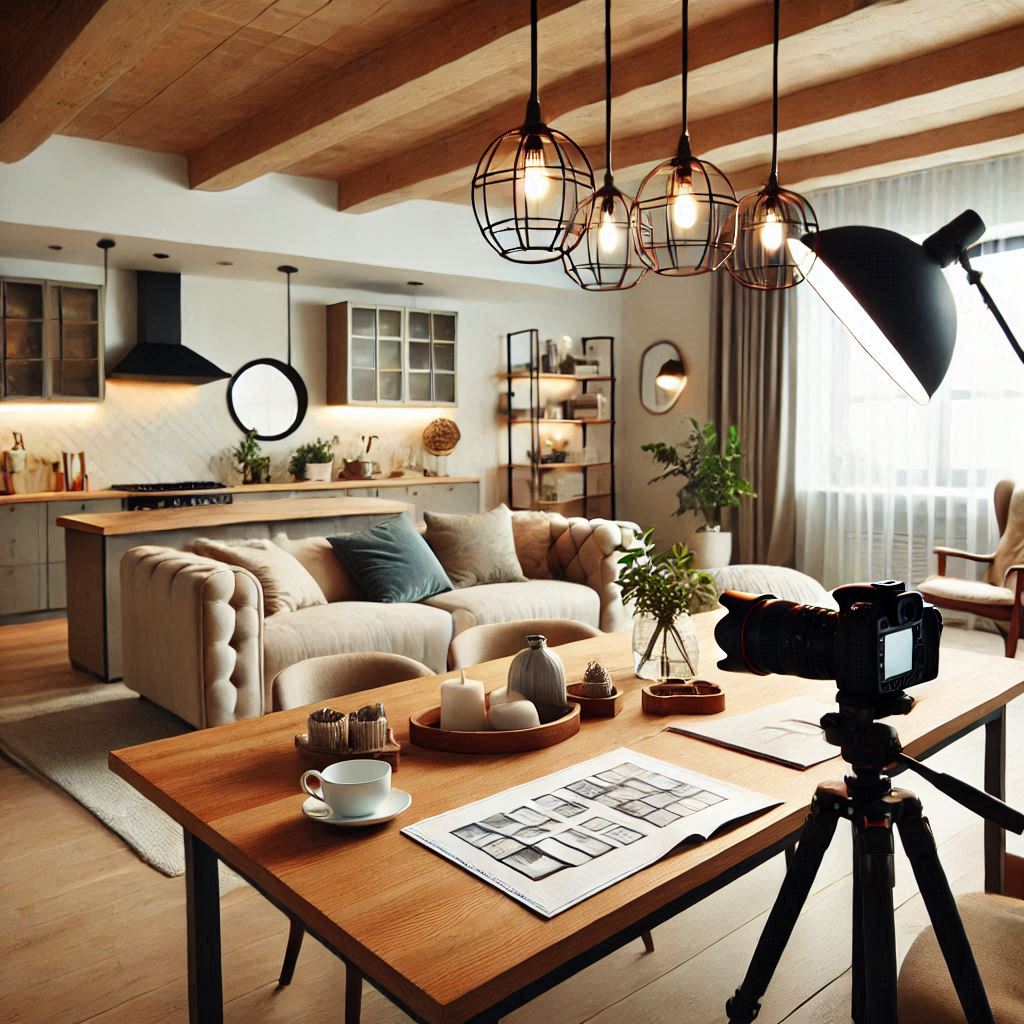
Lighting can completely transform a room, and natural light is one of the best ways to make a space look beautiful.
Natural light can make a room feel warm and welcoming. Therefore, try to schedule your interior design photoshoot during daylight hours when you have plenty of natural sunlight.
Open up curtains and blinds to allow the light to fill the room. This way, you can create a bright, airy atmosphere that highlights the beauty of your design.
If you can’t get enough natural light, consider using soft artificial lighting to fill in the shadows. Just be careful not to make the room look too artificial.
A combination of natural and soft lighting will help you create an inviting environment and showcase your design in the best possible way.
3. Choose the Right Angles
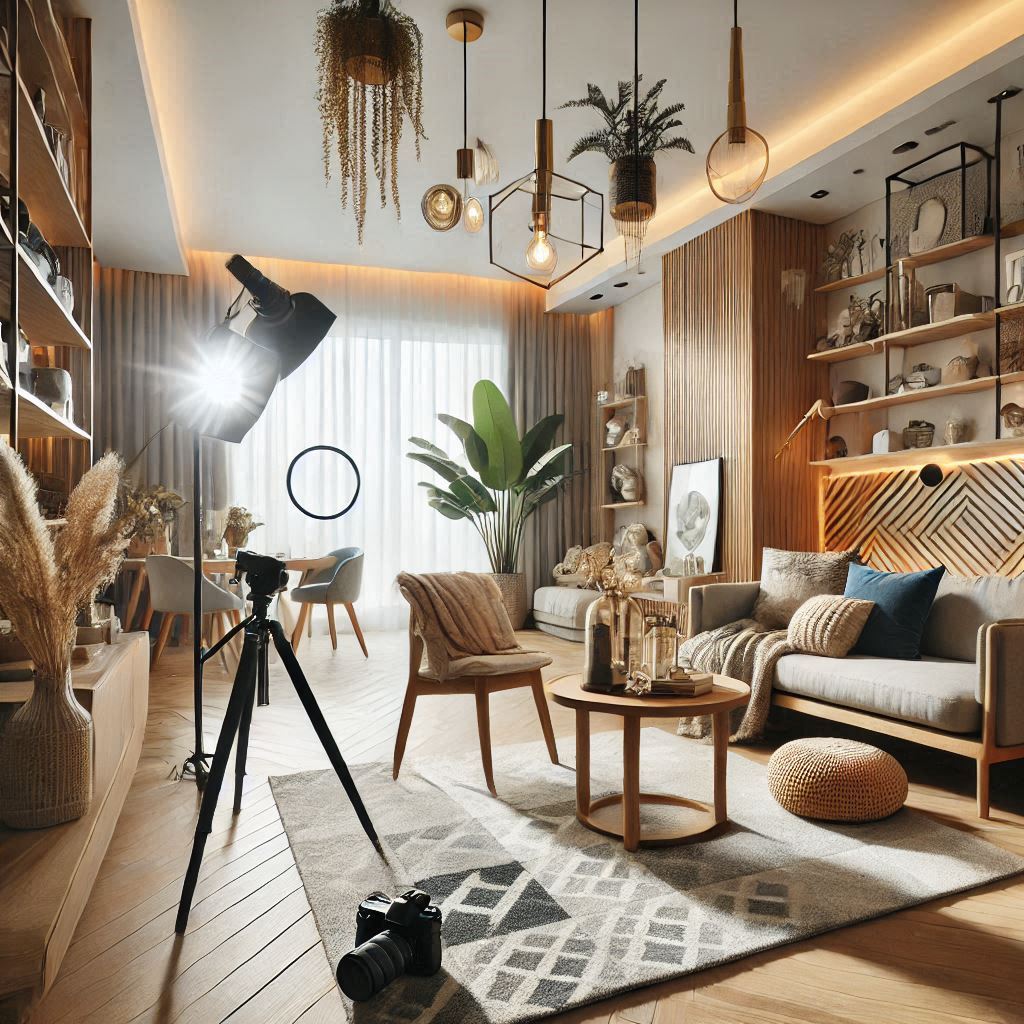
Next, choosing the right angles is vital in an interior design photoshoot. Different angles can completely change the way a room is perceived.
For instance, a wide-angle shot is great for showing off the entire room, while a close-up shot can highlight smaller design details, like a beautiful light fixture or unique artwork.
Try taking photos from various angles to get a sense of how each space looks. You may find that a shot from the corner of the room works best to show off the layout, or a shot from above can capture the full beauty of a large open space.
Take your time to experiment with different angles to ensure you capture the essence of the room.
4. Declutter the Space
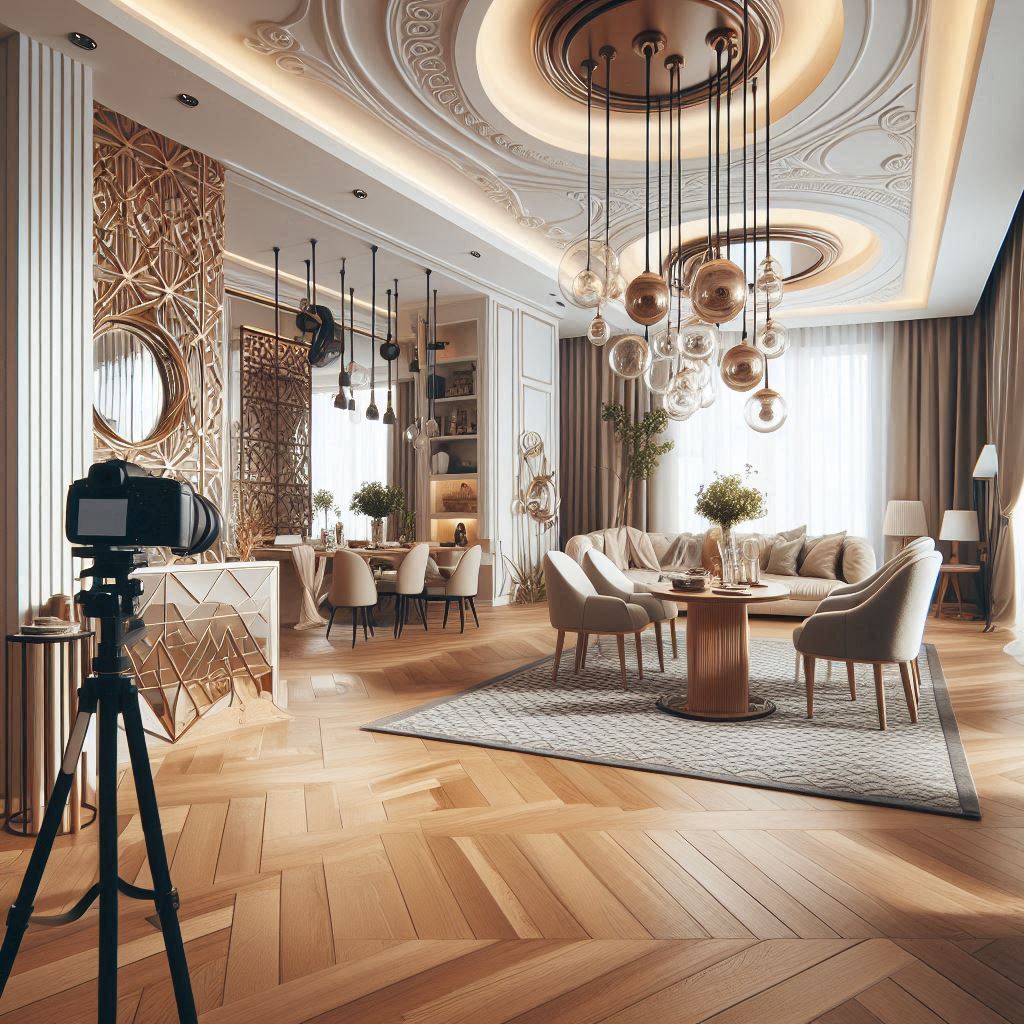
Before you start snapping photos, make sure the space is free of clutter.
A cluttered room can distract from the design elements you want to highlight. Therefore, it’s important to tidy up and remove any unnecessary items.
Take a few minutes to clear out everything that doesn’t belong, such as piles of magazines, unnecessary furniture, or cords. This will make the room look cleaner and more polished.
Additionally, organizing furniture and decor in a way that highlights the key design features will help the photos look more inviting.
By decluttering the space, you allow the design to take center stage and ensure your photos are both professional and attractive.
5. Use a Tripod
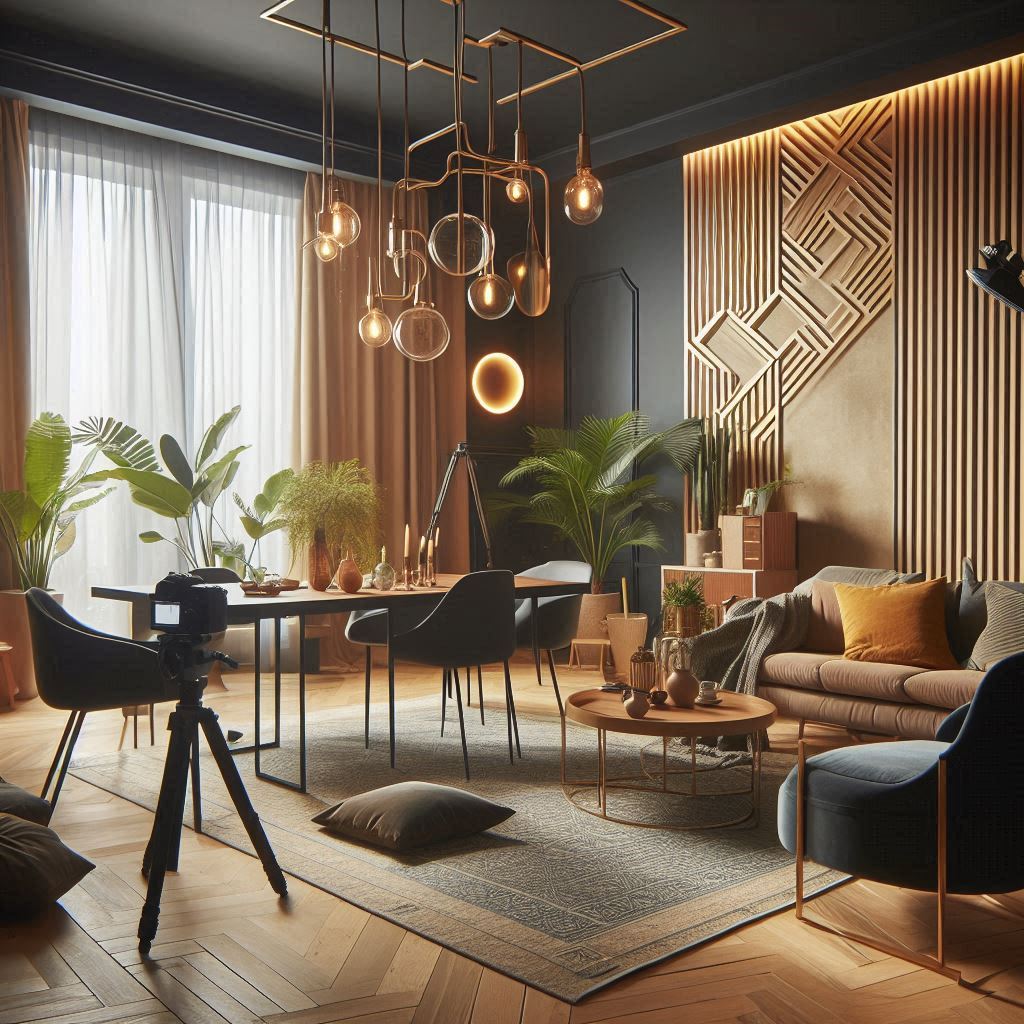
Another important tip for your interior design photoshoot is to use a tripod.
When you take photos by hand, it’s easy for the camera to shake, resulting in blurry images. Using a tripod stabilizes the camera and ensures your photos are sharp and clear.
Furthermore, a tripod allows you to take longer exposure shots, which can help capture more light in the room. This is particularly useful in rooms with less natural light.
Even if you’re using a smartphone for the shoot, a tripod will help keep your camera steady and ensure your photos are high quality.
In the long run, using a tripod helps you take professional-looking photos without worrying about camera shake.
6. Capture the Details
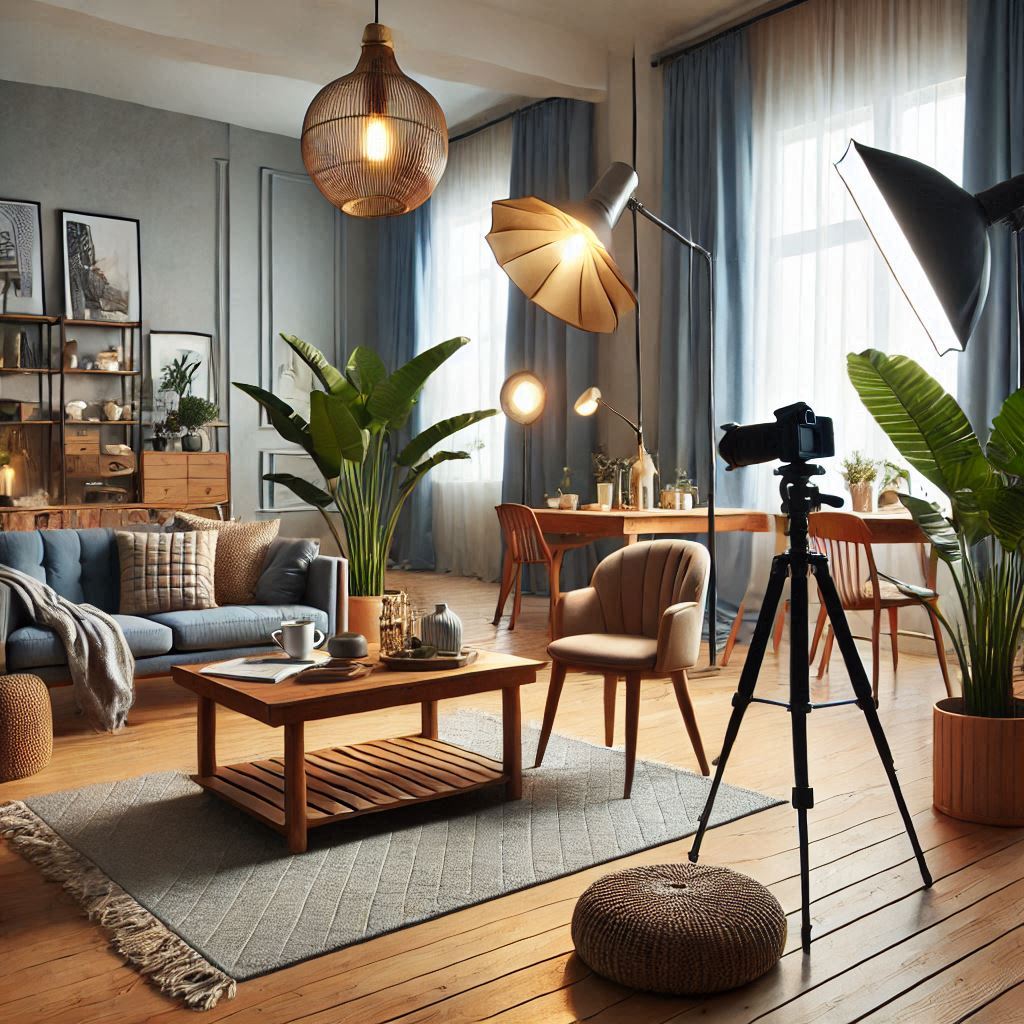
While wide-angle shots are important, don’t forget to focus on the smaller details in the room.
An interior design photoshoot isn’t just about capturing the big picture—it’s also about showcasing the little things that make the space special.
These could be beautiful textures, intricate patterns, or unique decor items like vases, sculptures, or textiles.
A close-up shot of these details helps tell the story of the space and shows potential clients your attention to detail. For example, capturing the texture of a sofa or the vibrant colors of a rug can give the room a more personalized and inviting feel.
These detailed shots add depth to your portfolio and make it more interesting.
7. Edit Your Photos
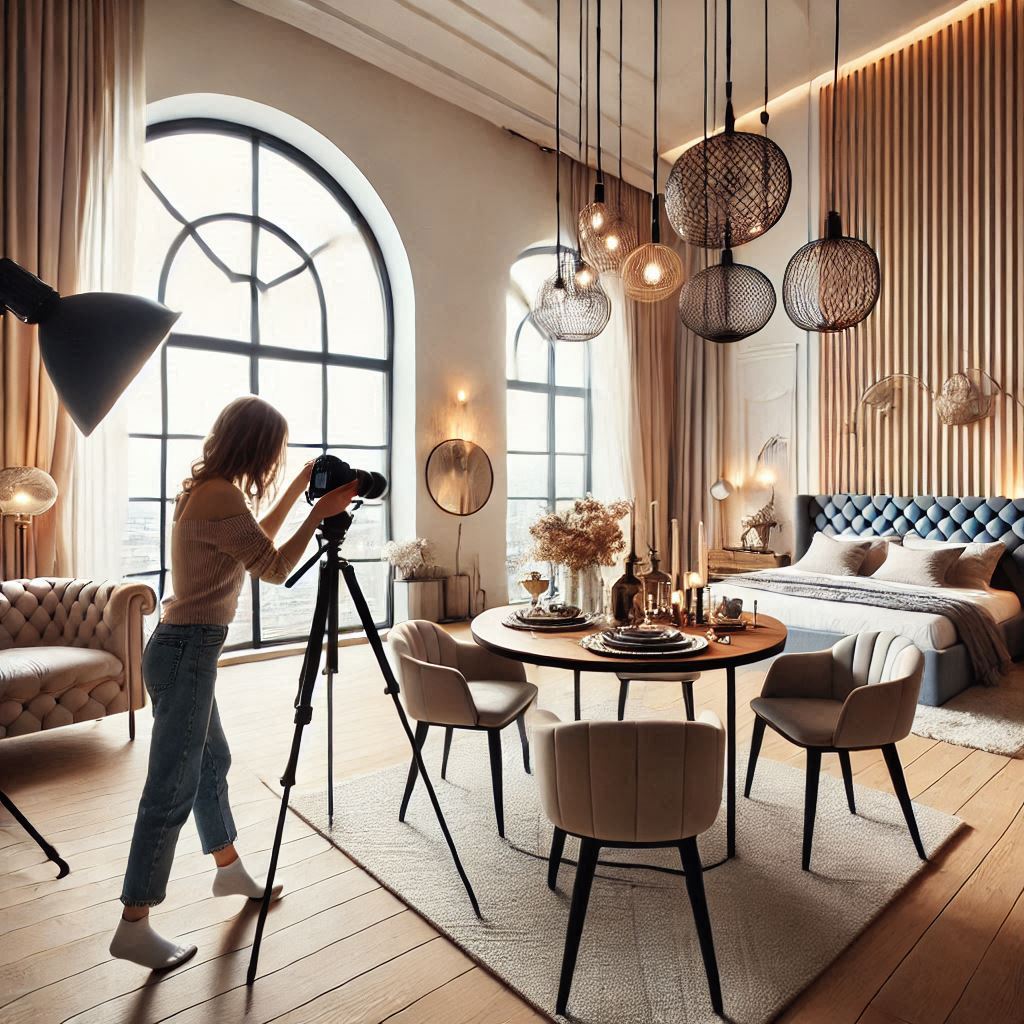
Finally, once your photoshoot is complete, editing is the key to making your photos shine.
Editing can help correct any lighting issues, adjust colors, and bring out the best features of the room.
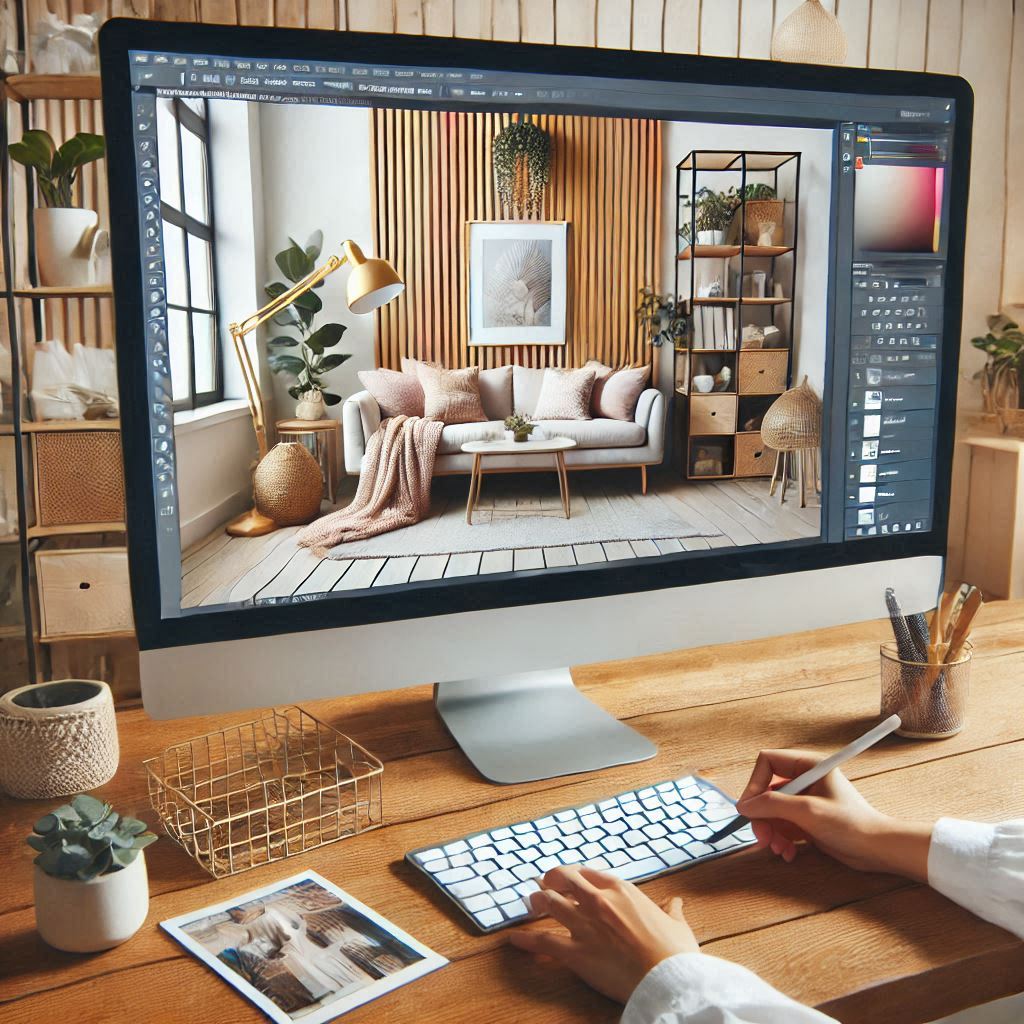
Use editing tools to brighten the images, adjust the contrast, and fine-tune the colors. However, be careful not to over-edit the photos. You want the space to look natural and realistic. Over-editing can make the photos look unrealistic, which could distract from the design.
Simple edits can enhance the photos while keeping them true to life. Additionally, cropping out distractions and focusing on the key design features will ensure the photos look polished and professional.
Conclusion
In conclusion, using these 7 interior design photoshoot tips can truly help boost your portfolio.
First, by planning ahead, you can make sure you capture the most important features of your designs.
Additionally, using natural light can make a huge difference in how your space looks, creating a bright and welcoming atmosphere.
Furthermore, choosing the right angles allows you to highlight the beauty of each room in a way that’s most appealing to potential clients.
Another important step is decluttering the space. This will help remove distractions and focus attention on the design elements that matter most.
Also, using a tripod ensures your photos are clear and steady, which is key to professional-looking results.
Finally, editing your photos carefully will enhance their quality without overdoing it.
In the end, these small but effective steps will make a big difference in how your portfolio stands out and attracts more clients.
With these interior design photoshoot tips, you’ll be able to show off your work in the best possible light.
